The MGC homeowner & business guide / Surface preparation
Drywall Repair Before Interior Painting: What Needs Fixing First?
What needs fixing before the finish coats go on?
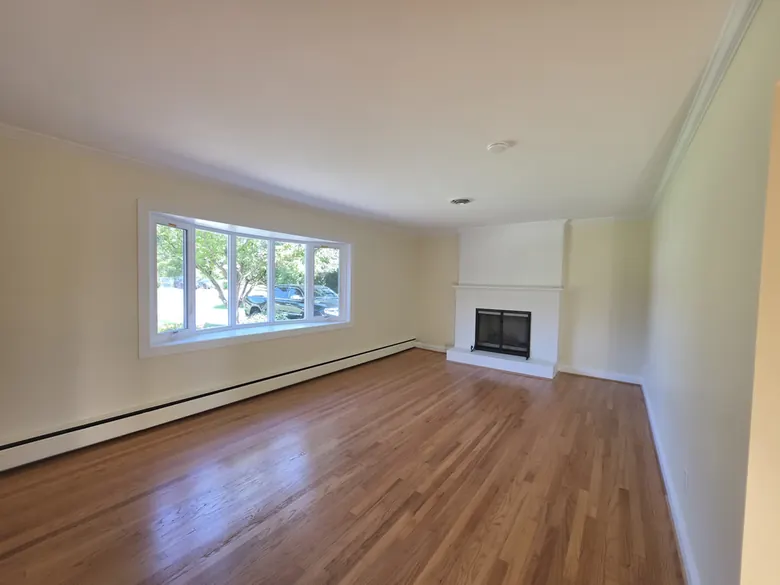
A new wall color can change a room, but it will not fill the dent behind a door or flatten a raised patch beneath a window. Those details need attention before the finish coats go on.
For homeowners planning interior painting, the useful question is: which marks are on the paint, and which problems are in the wall itself? A scuff may need cleaning. A hole needs repair. A water stain needs its cause understood before anyone covers it.
Here is what to look for when deciding what your walls need.
Start with the damage you can see
Walk through the room in daylight and again with the lights you normally use. Look beyond the largest hole. Check around removed shelves, curtain hardware, door handles, and furniture that has rubbed against the wall.
Small nail holes and shallow dents are often suitable for localized filling. Larger openings may need a supported patch or a replacement section of drywall. Torn drywall paper also needs proper preparation; coating over loose paper leaves an unstable surface underneath the new paint. The repair method should follow the condition of the wall and the materials being used. USG’s drywall repair guidance explains these different repair approaches.
Make a short list of the areas that bother you. A room photo and a close-up of each problem can help explain what you want addressed.
Point out cracks that keep returning
A fine crack, a lifted tape seam, and a small circular bump over a fastener can look similar from across the room. They are worth showing individually during the project review.
Tell your painter whether a crack is new, has changed, or has returned after an earlier repair. That history matters. A previous patch that reopened deserves a closer look before the same repair is repeated.
You do not need to diagnose the cause yourself. The goal is to make sure the proposed work accounts for what has happened, rather than treating every mark as a simple surface blemish. If the cause needs evaluation beyond painting and drywall preparation, that should be addressed before the finish work proceeds.
Look beyond the hole
Resolve moisture before covering a stain
A ceiling ring or brown mark near a window is more than a color problem until its source is understood.
For water staining, the source must be found and repaired first. The area should be dry, and damaged drywall should be evaluated for repair or replacement. Once the underlying problem is resolved, a suitable stain-blocking primer may be needed before painting. Ordinary finish paint should not be expected to solve an active leak or reliably block a water stain. Sherwin-Williams’ guidance on water stains describes this sequence.
When you request an estimate, mention when the stain appeared and any leak repair already completed. If it becomes darker after rain or keeps coming back, include that information.
Match the repair to the surrounding wall
A filled hole is only part of the job. The repaired area also needs to blend with the surface around it.
On a smooth wall, this means paying attention to the patch edges and surrounding surface. On a textured wall, it also means considering the existing pattern. A flat patch in the middle of a textured finish can remain noticeable even when the color matches. USG’s surface repair guide includes methods for recreating different textures.
Show your painter any older patches that already stand out. Discuss whether localized repairs are appropriate or whether a broader area needs smoothing. This is especially useful when several repairs sit close together or the wall has layers of uneven patchwork.
The work before the finish
What happens between patching and painting?
The preparation depends on the surface, but a typical repair involves several stages:
- Prepare the area. Remove loose material and address dirt or residue that could interfere with the repair.
- Build the repair. Use the appropriate filler, joint compound, tape, or drywall patch for the damage.
- Allow the material to dry as directed. Follow the product instructions before further finishing.
- Blend the surface. Smooth or sand where appropriate, remove dust, and address the surrounding texture.
- Prime as needed before painting. Select the primer for the repaired surface and any remaining stain-blocking requirements.
DAP’s wall-repair guidance emphasizes selecting an appropriate repair material, blending the edges, allowing drying, and preparing the patch before paint.
Primer can also help reduce differences in paint absorption between joint compound and surrounding drywall. Without suitable preparation, a patch may appear as a duller or shinier area after painting—a problem often called “flashing.” BEHR explains how primer helps with these differences.
Plan the repair and repainting together
MGC Painting offers interior painting with drywall repair and surface preparation as part of the agreed project scope for homeowners in Cabin John, Garrett Park and Stevenson. Tell us which rooms you want painted, where the damage is, and whether you are concerned about cracks, stains, texture, or previous repairs.
It is also worth discussing the extent of repainting. Ask whether the plan includes touching up a small area or painting the full wall, and what appearance to expect where the repair meets the existing finish.
MGC Painting would be happy to help you plan the preparation and painting for your home. Request a free estimate and share your project location, the rooms involved, and any photos of the areas needing attention.
Let’s discuss your project
Plan the repair and repainting together.
Tell us the surfaces, condition and timing you have in mind. MGC Painting would be happy to help you plan the next step.